
CNC Machining Tolerances for Aluminum and Steel Parts
2026-02-08
Tolerances for CNC machining aluminum and steel parts are important specs that determine how accurately manufactured parts are measured and shaped. These tolerances say how far a part can be off from its stated dimensions. They have a direct effect on how the part works, how well it fits together, and how well the whole product works. To get tolerances as low as ±0.001 inches for important uses in the automotive, aerospace, and industrial machinery industries, modern precise manufacturing needs to know how material properties, machining parameters, and quality control systems all work together.

Understanding CNC Machining Tolerances
Tolerance standards that are clear make sure that the quality of parts is the same from one production run to the next. For procurement professionals to make smart choices about where to buy things, they need to know the basic differences between dimensional and geometric tolerances when working with aluminum and steel parts.
Dimensional vs. Geometric Tolerances
Geometric tolerances manage the shape, direction, and runout of machined parts, while dimensional tolerances manage the size and placement of features on the part. Standard specs for aluminum parts are usually ±0.005 inches because the material is very easy to work with and doesn't heat up when it's being cut. Under normal production conditions, steel parts usually stay within ±0.003 to ±0.008 inches of their original size, based on how hard they are and what alloys they are made of.
The difference between these types of precision has an impact on both how they are manufactured and how much they cost. When working with complex car housings or aerospace structural parts that need exact angular relationships between machined surfaces, geometric tolerances often mean using special fixtures and measuring tools.
Industry Standards and Material Properties
The ISO 2768 and ASME Y14.5 standards make it possible for manufacturers all over the world to agree on how to define and understand tolerances. These standards make sure that design teams, suppliers, and quality testing departments can always talk to each other the same way, even if they are in different places or have different cultures.
Because aluminum is lighter and better at transferring heat, it is perfect for uses that need parts that are both stable in size and weight. Steel is better than aluminum in situations where mechanical loads and environmental forces are too high for aluminum. It has a higher strength-to-weight ratio and is less likely to wear down. When buying teams know about these material properties, they can choose the right tolerances that meet performance needs and make production possible.
Key Steps in the CNC Machining Process Impacting Tolerances
Precision in manufacturing rests on paying close attention to every step of the process, from figuring out the design at the beginning to making sure the quality is right at the end. At each step, there are chances to either improve or weaken the end tolerance level.
Pre-Machining Planning and Setup
Tolerance success starts with a careful look at the part's shape, the material being used, and the strategy for fixing it. Verification of the CAD model makes sure that the standards that were set are in line with what can be manufactured and how easy it is to measure. The right design of the workholding minimizes part distortion during CNC machining processes. This is especially important when working with thin-walled aluminum parts that can bend when clamped.
Machine selection is a very important part of tolerance potential. During long production runs, high-speed machining centers with thermal compensation methods keep the dimensions stable. Tolerance ranges for both aluminum and steel parts are directly affected by how accurate the spindle is, how repeatable the linear positioning is, and how rigid the machine is.
Machining Parameters and Tool Selection
Cutting factors like cutting speeds, feed rates, and depth of cut need to be carefully optimized based on the properties of the material and the tolerances that need to be met. When working with aluminum, sharp carbide tools and faster cutting speeds are usually used to get better surface finishes and more accurate measurements. For steel machining, you need more conservative settings and strong tooling systems that can handle higher cutting forces without deflection.
When keeping tight standards over long production runs, keeping an eye on tool wear becomes very important. Predictive maintenance programs keep an eye on the state of tools by measuring force, vibration, and changes in dimensions. This stops tolerance drift before parts go beyond what is allowed by the specifications.
Quality Control and Measurement Techniques
Coordinate Measuring Machines (CMM) are very useful for checking complex tolerance standards because they can measure a lot of different things at once. Statistical process control systems keep an eye on changes in tolerances over the course of multiple production runs. This lets changes be made before the tolerance drift impacts the quality of the part.
In-process measurement tools let you keep an eye on important dimensions in real time while machining is being done. Touch probes and laser measurement devices can automatically account for tool wear and thermal effects, so the tolerance level stays the same during production cycles.
Comparing CNC Machining Tolerances with Other Manufacturing Methods
Learning about the tolerances that different manufacturing processes can handle helps buying teams choose the best production method based on the needs of the part and the cost.
Precision Manufacturing Alternatives
Tolerances for manual cutting are usually between ±0.010 and ±0.020 inches, which is much less precise than what a CNC can do. Manual methods are flexible for making prototypes, but they aren't accurate enough or repeatable enough for mass production of important parts.
For aluminum parts, additive manufacturing techniques like selective laser sintering can get tolerances of about ±0.003 inches. However, the surface finish and material properties might not meet the needs of structural uses. When you mix investment casting with finish CNC machining, you can often get cost-effective solutions for complicated shapes that need moderate tolerance levels.
CNC Machining Advantages
CNC machining works best when very accurate measurements, smooth surfaces, and strong materials are all needed. The process keeps the same level of accuracy in the dimensions even when making a lot of things, and it can adapt to changes in the design without having to replace the tools.
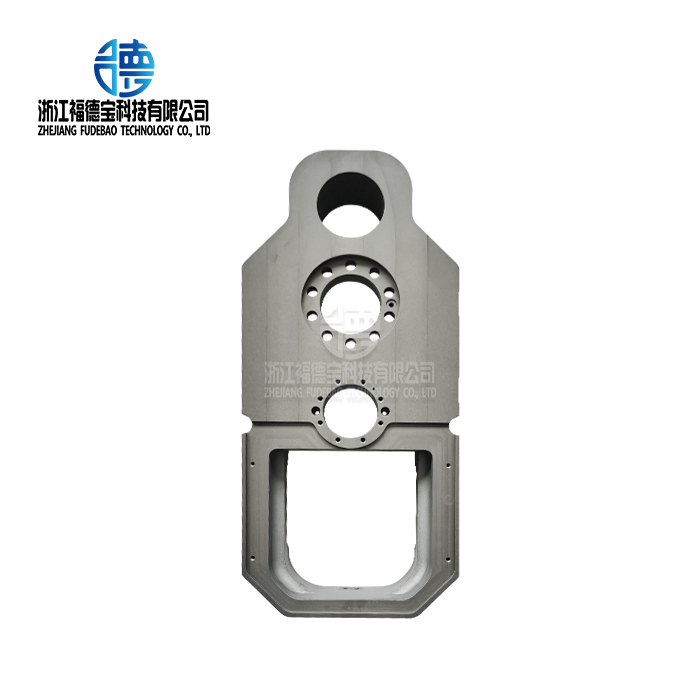
CNC machining can keep the workpiece in the same place between processes, which is helpful for complex geometric features like threaded holes, keyways, and precision bearing surfaces. Multi-axis machining centers let you finish a part in a single setup, which gets rid of the spec stack-up mistakes that happen when you do more than one operation at a time.
Best Practices to Achieve Optimal Tolerances for Aluminum and Steel Parts
Using tried-and-true methods during the planning and production stages guarantees that the required tolerances will always be met, while also improving production efficiency and cutting costs.
Design for Manufacturability Principles
When design teams and manufacturing engineers work together early on in the development process, tolerance requirements that are too high for realistic manufacturing are avoided. Realistic tolerance assignment puts strict requirements on features that are necessary for the part to work and lets standard tolerances be used on measurements that aren't necessary.
Tolerance achievement and verification costs are affected by how easy it is to reach features for both CNC machining and measuring tasks. Making sure that parts have enough tool access and measurement probe space lowers the cost of quality control and the difficulty of making the parts.
Equipment Selection and Maintenance
Matching the capabilities of the machine to the tolerance requirements ensures efficient output without spending too much on precision equipment that isn't needed. Machine precision is kept up by preventive maintenance programs that deal with issues like thermal stability and mechanical wear on a regular basis.
Consistent tolerance success is helped by environmental controls like keeping the temperature stable and blocking out vibrations in production settings. Climate-controlled work places for machining keep thermal expansion effects to a minimum, which can hurt the accuracy of measurements during precise operations.
Material Handling and Post-Processing
The right way to handle materials keeps them from getting damaged or distorted, which could change the end part's dimensions. After CNC machining, the dimensions of steel parts are kept stable with stress relief methods and the right aging processes are used for aluminum alloys.
Finishing steps like deburring and surface treatments need to take into account the loss of material and any changes in size that might happen. Coordinating these steps with tolerance requirements keeps parts from being thrown away that meet the requirements for cutting but don't work after secondary operations.

Procurement Considerations for CNC Machining Tolerances
For procurement strategies for precision machined parts to work, needs must be clearly communicated and suppliers must be carefully evaluated to ensure project success.
RFQ Specification and Supplier Assessment
Request for quotation papers with clear tolerance guidelines get rid of confusion and allow accurate cost comparisons between possible suppliers. Quotes are more likely to be accurate if they include measurements needed, inspection schedules, and expected paperwork.
Facility checks should be a part of evaluating suppliers. These audits should focus on the equipment's capabilities, quality systems, and measurement infrastructure. Certifications like ISO 9001 and AS9100 show dedication to quality control systems that are needed to meet tolerances consistently.
Quality Assurance and Process Control
Working with providers who can set up statistical process control makes sure that quality management is proactive throughout the whole production cycle. As production volumes and part complexity change, regular capability studies make sure that tolerance standards are still being met.
When tolerance problems happen, communication methods for parts that don't meet standards and corrective action procedures protect the interests of both the seller and the customer. Clear ways to escalate problems and technical help resources make it possible to quickly fix quality issues without stopping production.
A recent case study of a car supplier shows how they worked together to get ±0.002 inch tolerances on aluminum transmission housings by creating custom fixtures and measuring methods together. This partnership-based method cut development time by 30% while meeting or exceeding quality goals at the start.
Company Introduction & Product and Service Information
Zhejiang Fudebao Technology Co., Ltd. is a world leader in making precision aluminum and steel parts for heavy-duty uses in the energy, aircraft, automotive, and industrial equipment industries. Our full range of manufacturing services cover the whole production cycle, from handling raw materials to delivering finished parts.
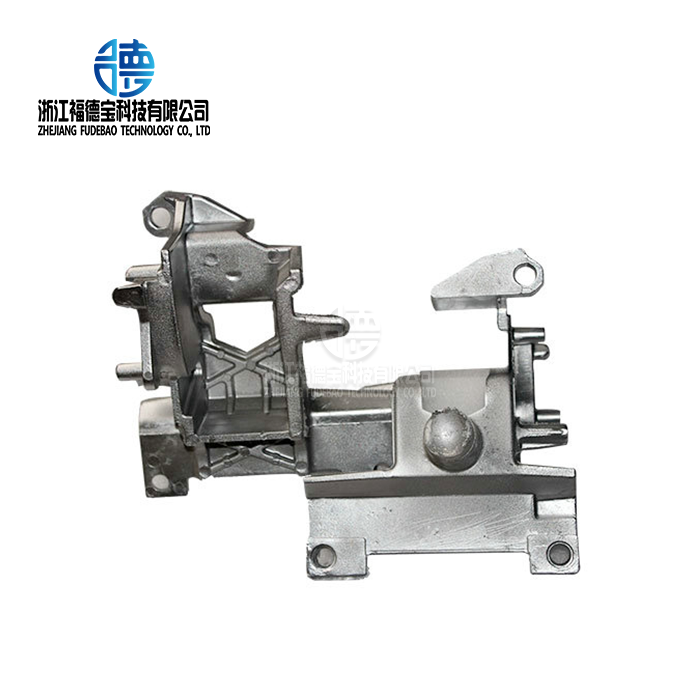
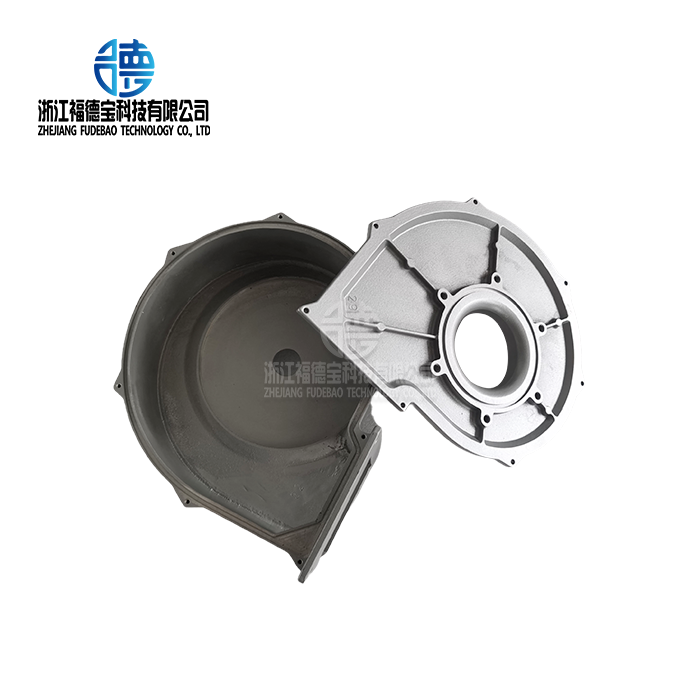
High-speed machining centers, precision CNC lathes, and automatic inspection systems that can achieve tolerances of up to ±0.05mm are all examples of advanced equipment. Low-pressure casting tools and die-casting equipment work together in a foundry to make sure that the material stays the same and the right size from the first casting to the final machining.
Our one-stop production method gets rid of the tolerance stack-up problems that happen in supply chains with multiple vendors. It also cuts down on lead times and logistics complexity. Surface treatment options, such as anodizing, powder coating, and precise grinding, allow for full component finishing without affecting the accuracy of the dimensions achieved during machining.
Statistical process control, coordinate measurement, and full traceability documents are all parts of quality assurance systems that meet PPAP standards for automotive use and aerospace certification standards. Because we are committed to always getting better, our tolerance skills change as technology and customer needs do.
Conclusion
Tolerances for CNC machining aluminum and steel parts are basic requirements that have a direct effect on how well the parts work and how well the manufacturing process goes. When you know how the properties of a material, its processing abilities, and its quality control systems work together, you can make smart choices about what to buy that balance performance needs with cost concerns. Clear communication and shared quality goals are the building blocks of good supplier partnerships. These partnerships make sure that tolerance requirements are met consistently across a wide range of industrial uses and support the long-term reliability of the supply chain.
FAQ
What tolerance levels can CNC machining achieve for aluminum parts?
Standard CNC machining operations on aluminum components typically achieve tolerances of ±0.005 inches, with precision equipment capable of ±0.001 inches for critical features. Aluminum's excellent machinability and thermal stability enable consistent tolerance achievement across high-volume production runs.
How do steel tolerances compare to aluminum in CNC machining?
Steel components generally maintain tolerances between ±0.003 to ±0.008 inches depending on material hardness and alloy composition. While steel requires more robust tooling and conservative cutting parameters, modern CNC equipment achieves comparable precision to aluminum for most applications.
What factors influence tolerance achievement during CNC machining?
Machine accuracy, tooling selection, material properties, environmental conditions, and operator skill level collectively determine final tolerance capability. Proper fixturing, cutting parameter optimization, and quality control procedures ensure consistent results across production volumes.
How do geometric tolerances differ from dimensional tolerances?
Dimensional tolerances control feature size and location, while geometric tolerances manage form, orientation, and runout characteristics. Geometric tolerances often require specialized measurement equipment and may impact manufacturing costs more significantly than dimensional requirements.
Can CNC machining maintain tight tolerances for high-volume production?
Modern CNC equipment with statistical process control and automated measurement systems maintains consistent tolerance achievement throughout high-volume production runs. Predictive maintenance and tool monitoring prevent tolerance drift before affecting part quality.
Partner with Fudebao Technology for Precision CNC Machining Solutions
Automotive and industrial procurement teams seeking reliable CNC machining suppliers can depend on Fudebao Technology's proven expertise in precision aluminum and steel component manufacturing. Our integrated production capabilities, advanced quality systems, and commitment to tolerance excellence support your most demanding applications. Contact our engineering team at hank.shen@fdbcasting.com to discuss your specific tolerance requirements and discover how our comprehensive manufacturing solutions can enhance your supply chain performance and product quality outcomes.
References
American Society of Mechanical Engineers. "Dimensioning and Tolerancing: Engineering Drawing and Related Documentation Practices." ASME Y14.5-2018 Standard.
International Organization for Standardization. "Geometrical Product Specifications: General Tolerances for Linear and Angular Dimensions." ISO 2768-1:1989 Standard.
Boyer, Howard E., and Timothy L. Gall. "Metals Handbook: Machining." ASM International Materials Engineering Reference Series, 9th Edition.
Kalpakjian, Serope, and Steven R. Schmid. "Manufacturing Engineering and Technology: Tolerance Control in Manufacturing." 8th Edition, Pearson Education.
Automotive Industry Action Group. "Production Part Approval Process (PPAP) Manual." 4th Edition Quality Standards Publication.
Society of Manufacturing Engineers. "Precision Machining Technology: CNC Applications for Automotive and Aerospace Components." Manufacturing Engineering Education Series.


_1756350092126.webp)

_1756361323684.webp)
